Personal Fume Hood
If you’ve been wondering why progress on the C6 upgrades has temporarily come to a stop - here’s why…
While working on the C6 upgrades, I’ve been using a lot of Quick Grip glue to temporarily (or, in some cases, permanently) glue brackets and other components in place while I figure out the configuration that I like best.
When I began the project in early spring, the weather was pleasant, and I kept the shop windows, the door to the garage and the garage door open.
There’s nearly always a breeze (or wind!) blowing from the window side on the west, and that arrangement provides good air flow through the shop.
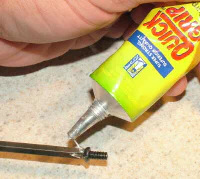
The fumes from the glue itself aren’t too bad, although it’s best to have some ventilation while using it. What’s much more of a concern is the fumes from the solvents that I use to remove the glue; including acetone, denatured alcohol, rubbing alcohol and naptha.
Each of these solvents has its own advantages and disadvantages, but I’ve found that they have different useful properties when dissolving Quick Grip to remove parts that I want to reposition.
In the last two weeks, the outside temperature has gone into the 80’s with sticky humidity. That’s more typical of July and August in this area, but can also occur in the spring if conditions are right.
The uncomfortable conditions caused me to close the shop doors and windows and turn on the A/C. Like my previous shop, this one has a small dedicated heat pump for heating and cooling.
The shop is not connected to the ducts that feed the other rooms of the house. We designed it that way to keep dust and fumes from the shop from travelling through the ducts to the rest of the house.
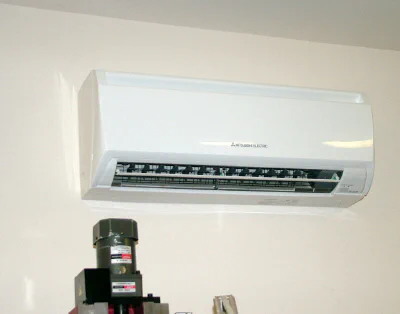 Wall-mounted heat pump unit
After a day or two working with the glue and solvents in a closed room, I was convinced that it was a really bad idea.
I read the warnings for these chemicals, and they all strongly advise against using them without good air circulation.
I decided to make a small fume hood to keep the fumes, as much as possible, out of the shop.
If you’ve ever worked in a chemistry lab in high school, college or industry, you’ve no doubt seen or used a fume hood.
In a lab setting, they usually are an enclosed work space about 6 feet wide by 3 feet deep by 4 feet high.
Exhaust fans inside the fume hood maintain a negative air pressure so that chemical fumes inside the hood are exhausted outside the building rather than into the laboratory work space.
Early in my career, I worked as a lab assistant, and often used such hoods, so I was well aware of their safety benefits.
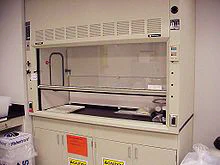 Typical laboratory fume hood
Since shop space is always limited, the fume hood had to be compact and easily moved.
I’ve bought a few wooden stools from Wal-Mart and added wheeled bases to them to make various other tools, such as a small shop vac and the laptop that I use as a control console for the KX3 CNC mill, portable.
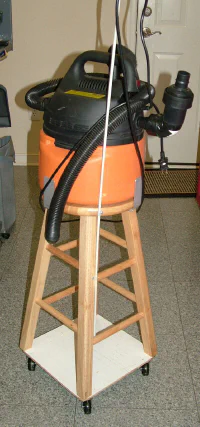 Porta-Vac. The spout on the side is a field-expedient muffler
The shop vac gets used about 50 times a day and being able to wheel it around quickly and conveniently is a great time- and back- saver.
So, for prototype purposes at least, I decided to make the hood small enough that it could sit on top of the box that I use for the KX3 control console.
If the hood proves its worth, it will probably get its own dedicated stool-on-wheels.
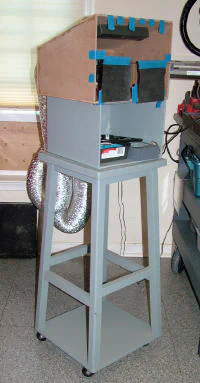 PFH (brown box on top) on roll-around stand
In principle, the PFH is pretty simple. A small exhaust fan expels air out one duct while fresh air from outside is drawn in the other duct. The separate intake duct minimizes the amount of heated or cooled air removed from the shop.
The front of the PFH is enclosed by a sheet of clear acrylic plastic with two hand-holes cut into it. Flexible flaps made from rubber sheet seal off the holes when hands are removed.
The two ducts feed to a board with 4" holes cut into it. The board fits tightly into the window frame and is held in place when the window is lowered.
A strip of foam seals the gap between the upper and lower halves of the window.
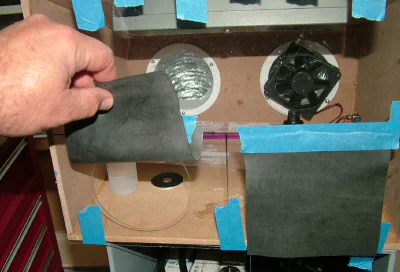
Obviously, this is still in the early testing stages. With time, this crude prototype will evolve into a beautifully crafted tool. Well, maybe.
As usual, Version 1.0 will most likely end up being a model on which Version 2.0 will be based. I’ve already come up with a list of improvements to make.
But for now, it works, so I can get back to work on the C6 upgrades, free from the effects of toxic fumes. I wonder if that had anything to do with the slurred speech and dancing dots I was experiencing?