If you’re thinking of buying a mini-lathe, you may be wondering what kinds of work this machine is capable of. This page will show you some examples and give you some idea of the capabilities, capacities and precision of this machine.
Many owners enjoy making working miniature steam, Sterling or internal combustion engines. There are several shows around the country including the NAMES show in the West and Mid-West and the Cabin Fever show in the East that feature some outstanding efforts of this type. Others use their lathe to make parts for another hobby such as astronomy, microscopy or model railroading, shooting or RC model racing.
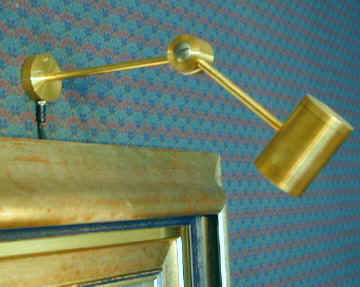
Other owners, such as myself, are experimenters and inventors and use the lathe to make parts and special tools for various projects. Every once in a while I feel compelled to make something that is useful in and of itself. Here’s a nice little brass lamp I made to illuminate a framed painting.
Here’s a link to a page describing some modifications I made to a stereo microscope so that it would better meet my needs.
Some guys, like Bruce Simpson, get a little carried away and build things like your basic jet engine powered go-cart. Bruce, being from New Zealand, thinks this sort of thing is an entirely normal suburban activity. Of course the things you make can then be adapted to more advanced uses, such as using the jet engine to cool your beer.
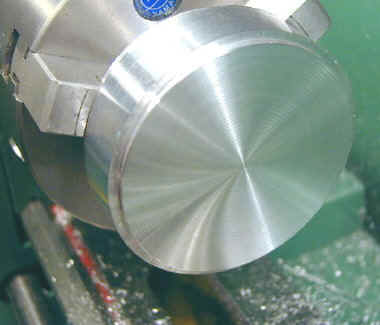
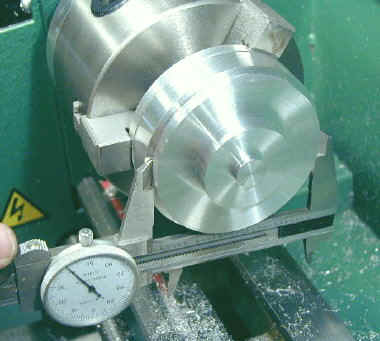
You can turn and face stock up to 2 3/4″ diameter with the stock chuck and up to 4″ using the 3″ 4-jaw chuck. While still small by industrial lathe standards, this scale of work is what separates this bad boy from the micro lathes. Here’s an example of a 3″ workpiece that has been turned and faced using the optional 4″ 3-jaw chuck.
At the small end of the scale, here are two pieces brass, one turned to 0.050″ and the other to 0.020″ diameter. I made the larger one to replace a broken screw in my sunglasses; the smaller one just to show that it could be done.
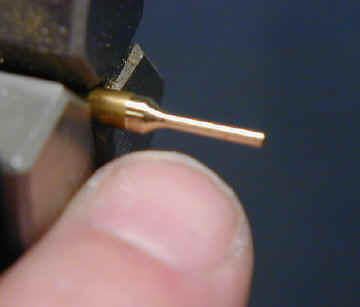
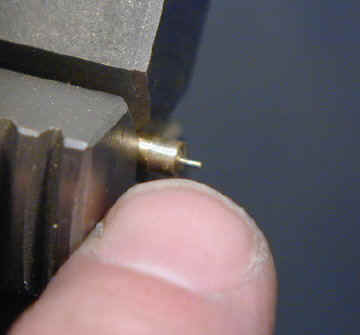
Here’s a piece of brass turned down to 1.7mm x 5mm (.067 x .197) then drilled through with a #55 drill (.059) and parted off with a tiny parting tool. It is shown in the right-hand photo with a hypodermic needle passing through it.
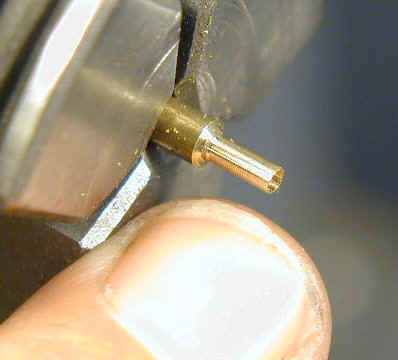
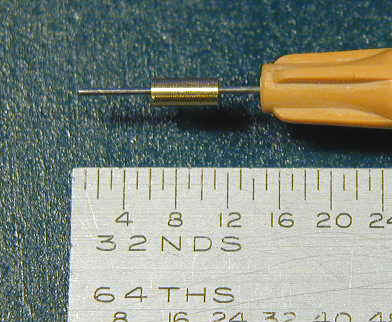
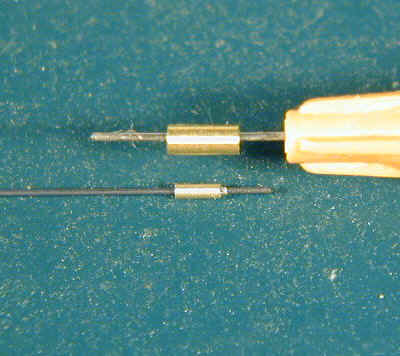
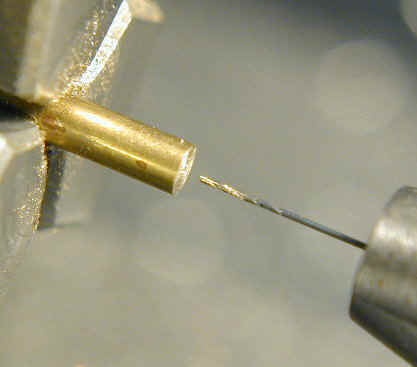
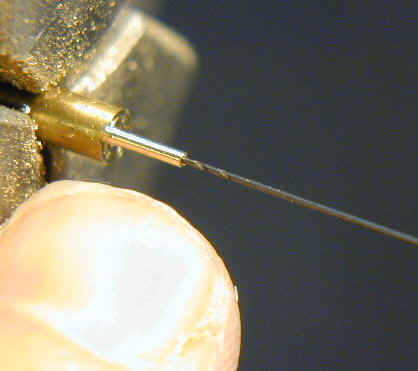
Of course, if you need to do really small work, that’s possible too. Just for fun I decided to see if I could turn a little tube that would fit inside the one shown above.
The new one is .034 outer diameter, so it fits inside the .059 hole with lots of room to spare, and is drilled through with a #78 drill, . 016 in diameter. The outside diameter of the hypodermic needle is .018; too big to fit through the new hole.
Now, a real craftsman, like Bill Huxhold, could probably cut a thread inside that tube and make a hex-head bolt to fit it, but this really isn’t too bad for a lathe that cost under $500.
Most metals, including aluminum, brass, steel and even stainless steel can be worked on the mini-lathe. With harder metals such as stainless, and with larger diameters, you must take smaller cuts. On 3/4″ diameter alumimum you can take cuts of .040″ (removing .080″ per pass) with no problem.
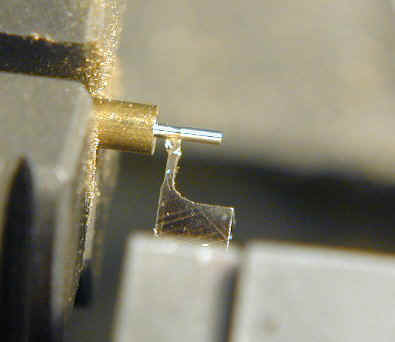
Plastics such as Delrin, Nylon, Acetal and Teflon can also be worked with excellent results. Acrylic plastics such as Plexiglas are more difficult because they tend to melt, but this is a property of the plastic, not a limitation of the lathe.
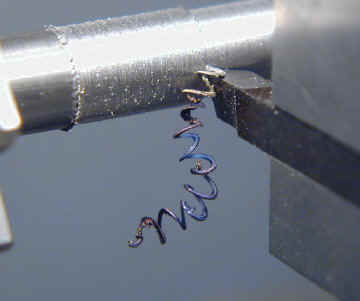
Here’s a picture of a hot blue chip being turned off of a piece of steel drill rod. The coloring is induced by the high temperature caused by the cutting action of the tool.
A lathe is best suited to turning shapes that are basically cylindrical or tapered cylinders, including shapes such as a chess pawn. However, it’s important to recognize that with a 4-jaw chuck, it’s possible to use a series of facing operations to form shapes that are variations of cubes.
With the addition of a milling attachment, you can make even more complex shapes, by using the lathe do some of the operations that would normally be done on a milling machine.
The next series of photos shows a rough piece of 2″ aluminum stock that had been half buried in the dirt at a junk yard for many years. You can see that the surface is coated with oxidation. In fact, the metal is pitted to a depth of about .005 or more. Here you can see how the lathe transforms this rough stock into a beautifully finished piece.
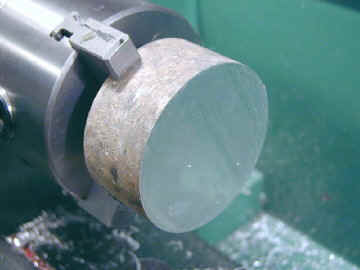
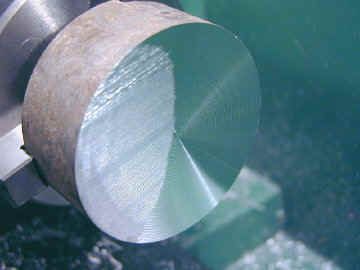
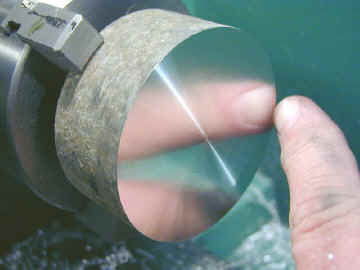
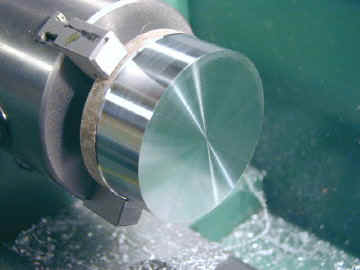
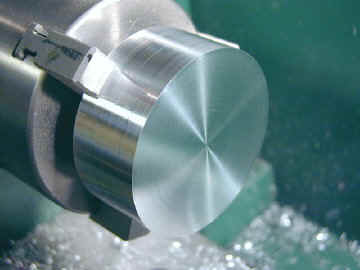
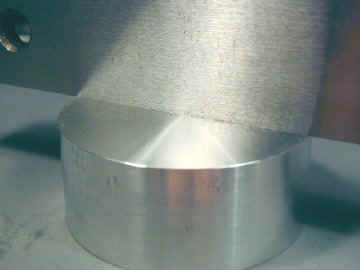
The last photo shows a precision ground parallel resting on the surface of the disk. You can’t tell this from the photo, but virtually no light is visible between the two surfaces. My original 7×10 lathe wasn’t always this accurate.
In fact, as it came from the factory, the saddle was not machined square and the cross-slide was therefore not square with the ways. The result was that facing operations left a slightly convex cone shape on the workpiece instead of a completely flat surface.
The misalignment was small enough (about .004 over a 3″ face) that I didn’t even notice it for several weeks, but large enough to be a problem for precision work.
HF sent me a replacement saddle at no charge, but before it arrived, I had already fixed the original saddle by milling the V-groove to be as precisely square as I could make it. As you can see, the results were pretty good.
The replacement saddle and the ones on my Grizzly 7×12 and Homier 7×12 were accurately aligned. Over the last few years the quality control seems to have gotten better and the problems I have seen on the newer lathes have generally been minor.