Plastic Bending Fixture
A while back I needed to make some accurately positioned bends in fairly small (6x10") pieces of acrylic plastic sheet about 1/8" thick.
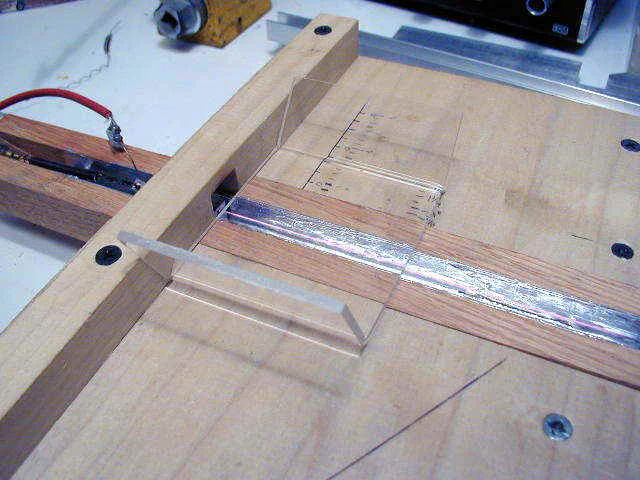
I made a fixture from a wood base, two pieces of wood to form a table with a channel and a channel for the heating element made from oak with a groove cut in it using a radial arm saw.
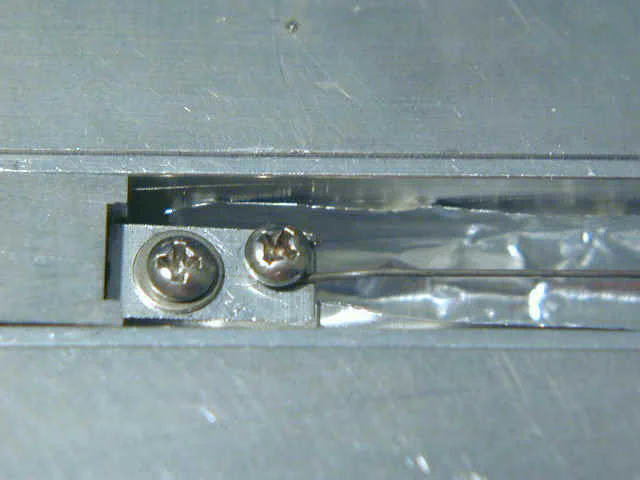
The channel in the oak is lined with aluminum foil and a heating wire extends the length of the channel. The wire is clamped using some small aluminum clamps that I fabricated.
When I made these, I did not have a lathe or mill, so they are fairly rough, but serve their purpose.
The heater wire was scavenged from a defunct hair dryer. It is coiled when removed, and must be straightened out by heating it under tension before use.
When my three daughters lived at home I had a steady supply of obsolete hair dryers, but my stock is now nearly exhausted. In any case, hair dryers can be bought new pretty cheaply if you can’t find suitable wire from a supplier.
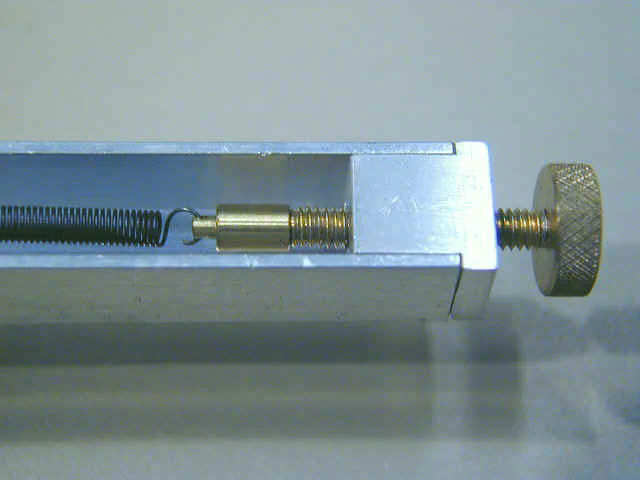
The left end of the heater wire is attached by means of a fishing line swivel to a spring and an adjustable bolt. The bolt sets the spring tension and the spring takes up slack in the heating wire as it stretches when it is heated up.
Power to the heating wire is supplied by a heavy 14V transformer that I obtained surplus many years ago.
I don’t know the amperage rating on it, but I would guess it is several amps at least. It never gets warm in this use, so I don’t worry about it. The transformer is plugged into an outlet box with an AC dimmer control of the type used for incandescent lighting.
This control gives a good range of temperature control for the heater wire. The wire glows red hot when in use as you can see in the first photo if you look carefully.
Here’s the second of three fixtures I made. This one is made from poplar planks obtained at Home Depot and is screwed together using short sheetrock screws.
Later on, after I got my lathe and mill, I made a much more precise version from aluminum plate which is shown further down the page.
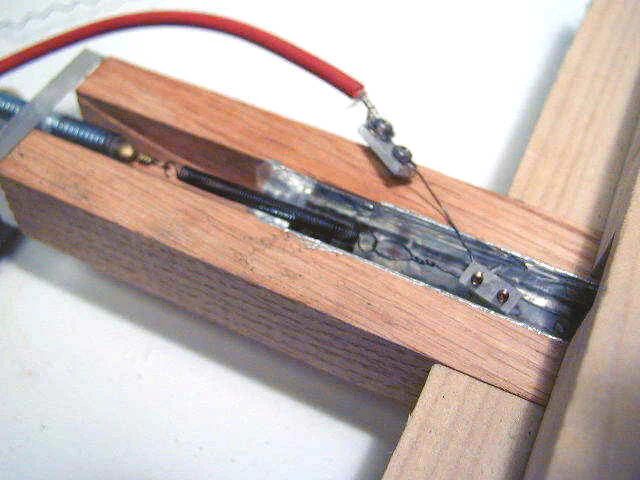
(Sorry about the poor focus on this picture)
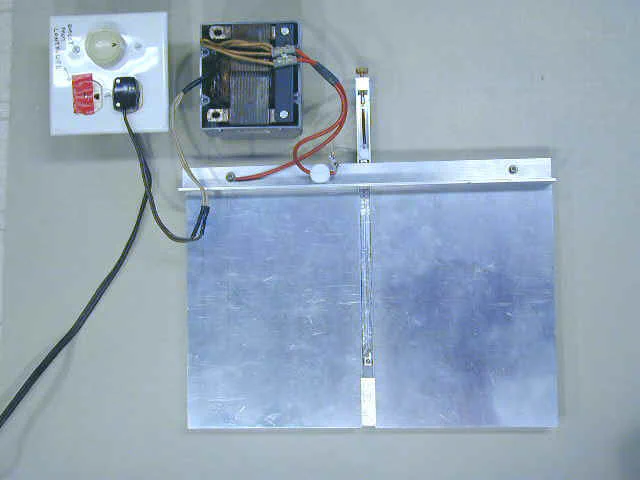
Here are some photos of the aluminum plate version. This one was made about two years after the wooden version. By this time I had my lathe and mill and was able to fabricate more precise parts.
The photo below shows the complete setup including the transformer mounted in a plastic outlet box and the dimmer control used to set the temperature of the heating wire.
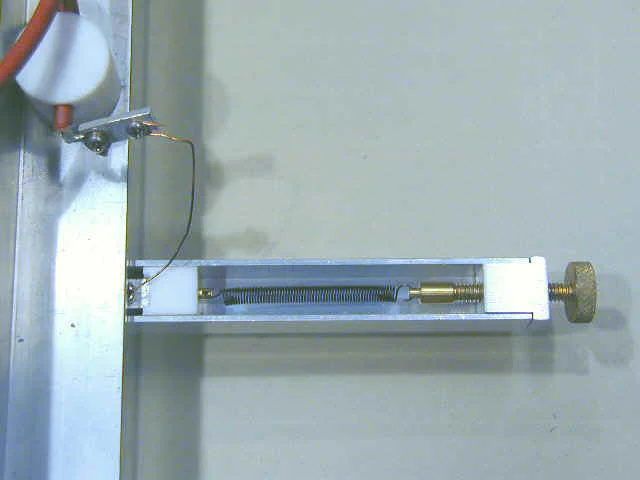
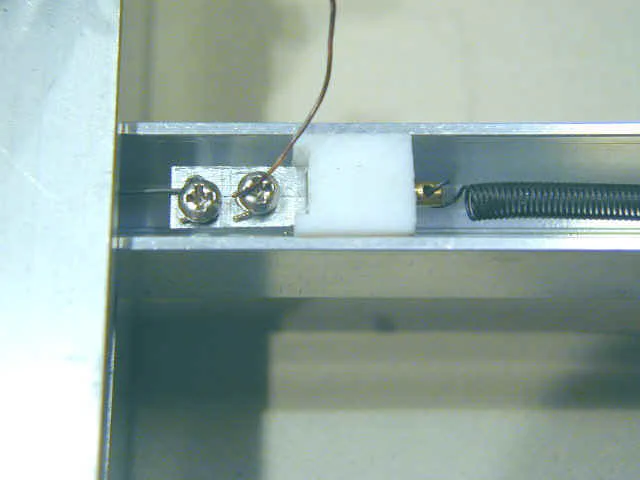
The photo below shows the spring that maintains tension on the heater wire and the adjusting screw for setting the initial spring tension. A tiny brass swivel made on the lathe keeps the spring from twisting as the screw is adjusted.
