5in disk
On this page
Here’s what the disk looked like after I started finishing the 2nd side on the C6 lathe. Lots of chatter marks.
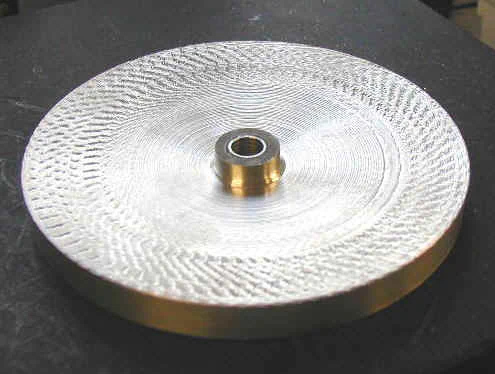
I concluded that the chatter was caused by the whole disk being supported by what was now a very thin (about .060) midsection. I then realized that I could hold the disk in a 5" chuck using the outside jaws.
This worked very nicely. If I were to do this over again, I would use the center hole only to support the disk while turning it down from an octagon to a disk.
After that, I would hold the disk in the 5" chuck for the taper operations. This would leave a nice surface all the way to the center with just a 3/8" dia. hole in the middle.
The disk was so thin near the middle at this point, that it finally broke through. I enlarged the hole a little bit to remove the razor-sharp edges.
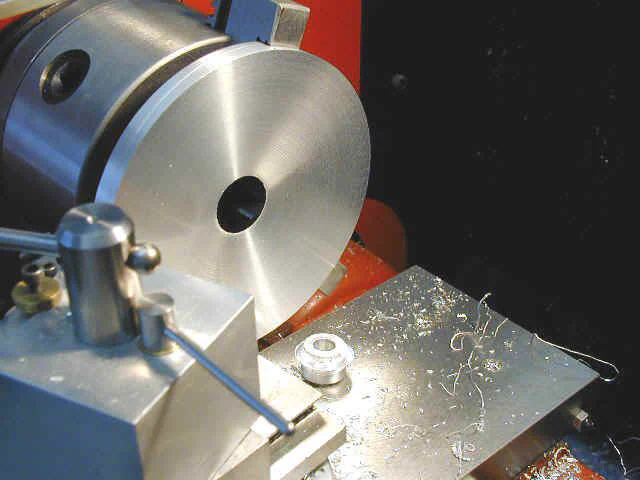
Making a Tapered 5" Disk
I started by cutting a 5 1/4" square of 1/2" thick aluminum plate on the bandsaw. Next I marked off the corners and cut them off to save time on the lathe.
It’s also easier to turn an octagon than a square! Then I turned down the octagon to a circle. The main problem with this is that there’s no easy way (maybe no way at all) to use the standard tool holder to reach the outside of a 5"+ disk.
Therefore I used a special offset toolholder that I made quite a long time ago.
![]()
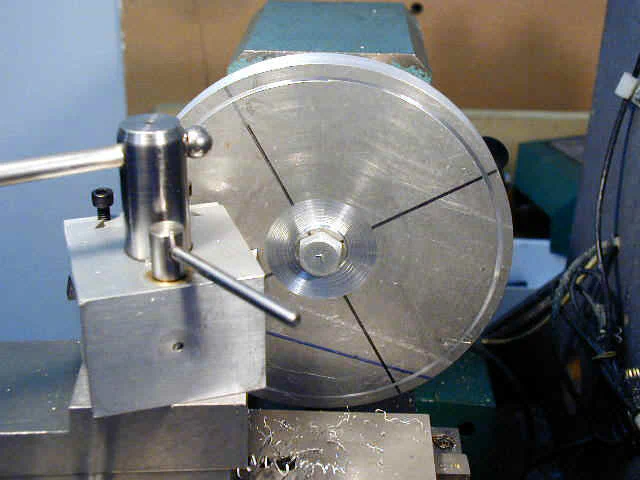
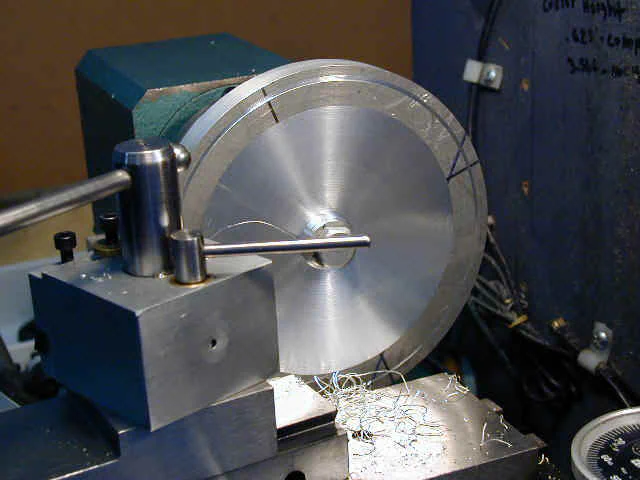
I drilled a 3/8" dia. hole in the center using a drill press, then mounted the disk in the 5 " chuck by gripping 3 sides of the nut. The disk is placed against the jaw faces to help align it.
The offset toolholder allows me to reach the outside edge of the disk. You can see smooth areas on the peaks of the octagon where I began to turn it down.
I have a lot of special gizmos mounted on my lathe but none of them was required for any of the operations to make the tapered disk.
To save time, I moved the disk over to my C6 lathe which can take considerably heavier cuts.
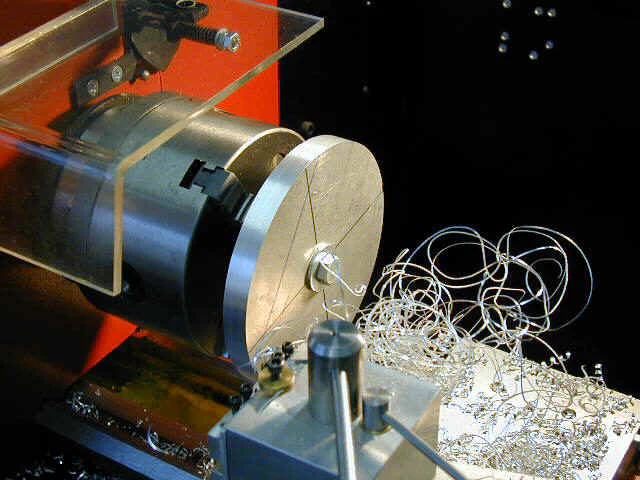
This operation produces a lot of razor-sharp swarf. You must stop the lathe from time to time and clear the swarf away so that it does not get caught in the chuck and go whipping around.
=80
After reducing the octagon to a disk, I mounted the disk in the 7x12. I used the standard 3" 3-jaw chuck. I started to cut inward from the outer edge of the disk, but the tool quickly dug in too deep, due to the taper, so I realized that it would be easier to start near the center and cut inward a little at a time.
You can also cut while retracting the tool back out. Since we are cutting a taper, the compound is set at a very shallow angle and all cutting is done using the compound feed.
A solid carriage lock is essential, so that the carriage does not shift position during the taper cutting.
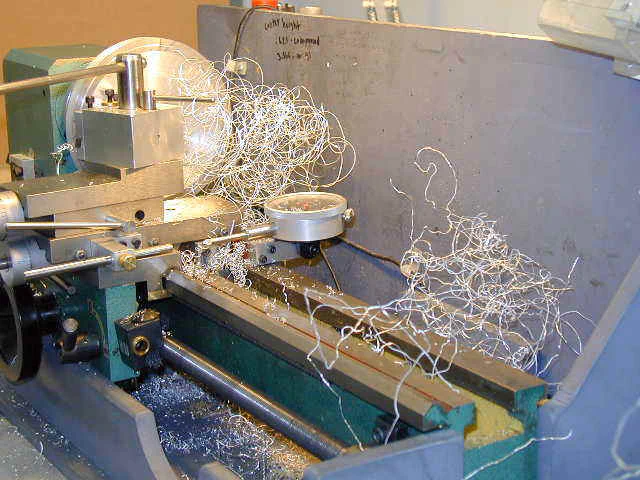
This operation also produces a lot of swarf!
When working on a relatively thin and large workpiece like this, chatter can be a problem. It shows up in this case as a ringing or whining sound, and leaves a rough, but symmetrical pattern on the face of the disk.
By slowing down the speed and taking lighter cuts I was able to eliminate most of it.
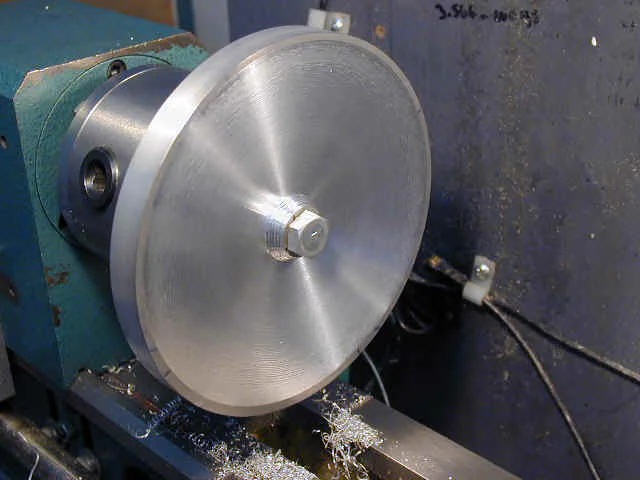
Here’s the disk, nearly finished:
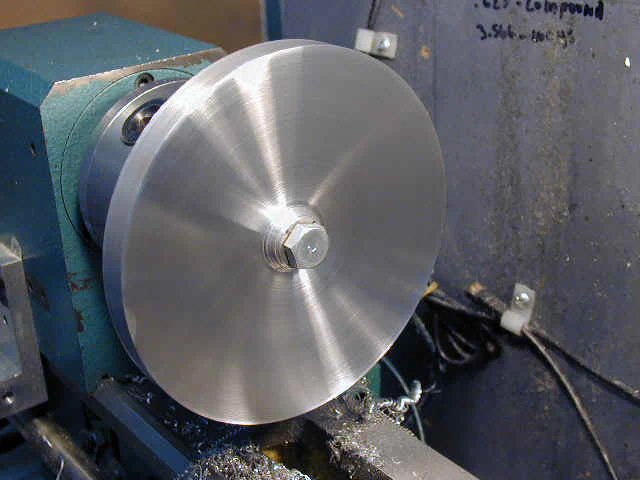
Just for fun, I decided to polish the face with successive grades of wet/dry sandpaper. Then I cleaned it up with some soap and water. Here’s what it looked like when I was done.
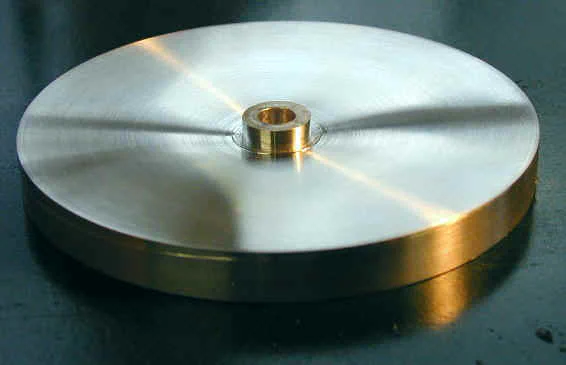
So, you can make this thing on a 7x lathe. The main advantage to making it on a bigger lathe would be the ability to take more aggressive cuts, thus saving time.
On the 7x, as the tool moves out past about 3" dia., the torque imposed bogs down the motor, forcing you to revert to taking very light cuts. This is really a design flaw of the 7x lathes - they have too much top end speed and not enough low-end torque.
I never use top speed, or even HI range, but very often wish I had more torque. This is relatively easily solved by adding a speed reduction pulley, which many owners have done.
I don’t know why I have put this off for so long.