Micro-Mark 7×16 Mini-Lathe
Introduction
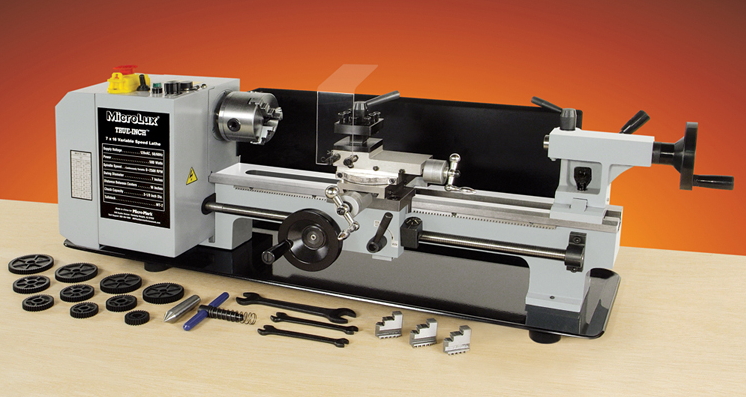
Micro-Mark, for quite a few years, offered a unique 7×14 version of the mini-lathe. While their 7×14 model always stood out from its competitors with several proprietary features such as True-Inch™ leadscrews, Micro-Mark has once again raised the bar with their new 7×16 version.
Not only is the bed a full two inches longer than the 7×14, it also has the powerful new brushless torque-monster motor. These new brushless motors are so powerful that the headstock gear-drive becomes unnecessary: the full range of speed from zero to 2500 RPM is in one continuously variable range.
Though it is more powerful than the older motor configuration, it’s also quieter and more robust due to the absence of the gear train in the headstock.
While an extra two inches of bed length may not sound like much, on the mini-lathes, it can make a big difference. Consider that the 7×16 has fully twice the bed length of the 7×10 (which is really only a 7×8) and 33% more length than the 7×12.
Often that advantage first shows up when you need to drill into the end of a workpiece with a fairly large drill, such as a 1/2″ diameter. Since standard drills get longer as the diameter increases, on a shorter lathe, like the 7×12, you may find that you don’t have enough clearance between the tip of the drill and the end of your workpiece.
The extra room also lets you move the tailstock out of the way when you’re not using it, giving you more room to work on the job at hand. But I’m getting ahead of myself. Let’s start at the beginning…
Packaging and Shipping
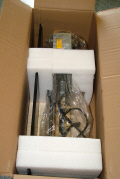
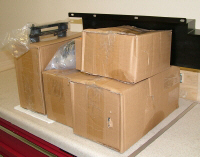
I was at first surprised that the 7×16 arrived in two separate boxes. Every other mini-lathe I’ve received (and there have been quite a few over the last ten years) has been shipped in one box. After I thought about it, though, the benefits of this arrangement started to become apparent to me.
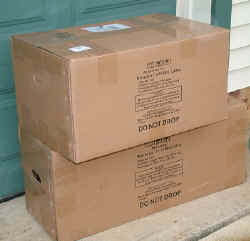
First of all, the new lathe, due to the extra-long bed, is heavier than it’s smaller cousins. Enough so that, fully assembled, it would exceed the maximum package weight for UPS. So packing the 7×16 in a single box would require it to be shipped by motor freight carrier – a more expensive and complicated alternative.
Separating the load into two boxes not only make it easier for the truck driver, it also makes it easier for the lathe owner. Secondly, Micro-Mark has chosen to package each of the heavy attachments, such as the carriage, tailstock and chuck, in separate boxes within the main boxes.
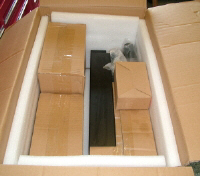
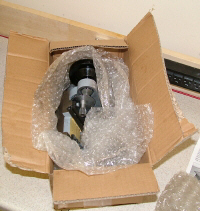
This ensures that they won’t work loose during shipment to become a battering ram against the precision spindle or other parts of the lathe. We’re not talking cheap styrofoam here, but separately boxed items, individually bubble-wrapped and all packed inside a thick and resilient foam liner.
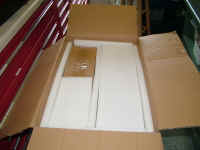
And, although the lathe requires some assembly before use, it’s easier and less strenuous (especially if you’re working alone) to lift the separate components up to the workbench that it would be to heft the fully assembled lathe.
When you’re anxious to get your new 7×16 up and running, having to assemble the parts may seem like extra work. But the fact is, when you receive a fully-assembled lathe from another vendor, the first thing you need to do is disassemble it to clean off the waxy red shipping grease and lubricate all of the precision surfaces.
With this packaging approach, you can clean and lube each part, and then assemble it. It actually saves you time in the end.
Cleanup and Assembly
I had some pretty substantial lower-back surgery in February this year, so I decided that it would not be wise for me to try to lift the main body of the lathe from the floor up onto the bench.
Although its really overkill for this job, the best tool I had on hand to do the lifting was my trusty Harbor Freight shop crane, capable of lifting up to a ton (907 kg) on a good day. It took about 15 minutes to get the crane set up and the lathe lifted up on the bench, which, being impatient, I found annoying, but it beats having another surgery.
While I was at it, I inserted a scale between the hook of the crane and the lathe. The bed assembly, with the headstock and motor, weighs about 50 pounds (23 kg). In my prime, I could have muscled that onto the bench with one hand, right?
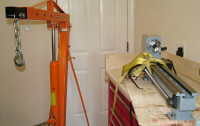
Once I got it on the bench, I propped up each end in turn on a piece of 4×4 to remove the bolts holding the plywood shipping base in place.
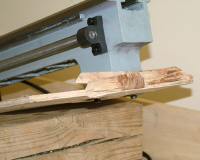
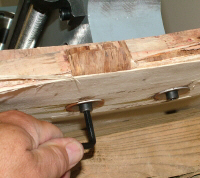
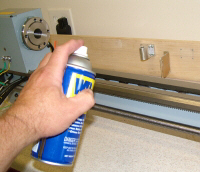
The Micro-Mark 7×16 is protected by a light neutral-colored protective shipping grease that wipes off easily with a rag and a small amount of WD-40 or kerosene – much easier cleanup than with the traditional red grease.
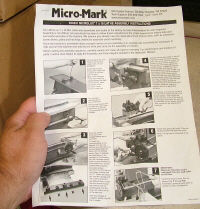
A supplementary manual explains and illustrates the steps for assembling the component parts of the lathe. I unpacked all of the parts from their boxes and placed them on an adjoining bench for easy access.

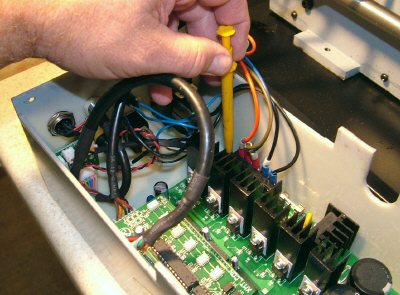
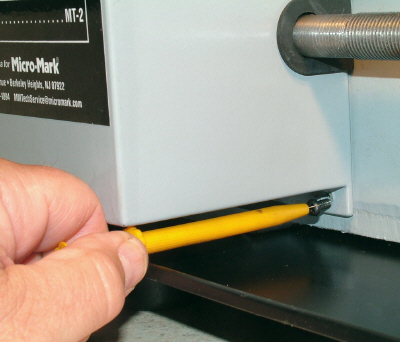
Or you can use a drop of glue on your screwdriver tip:

Brushless DC Motor
As I reported in my review of the 7×12 SC2 mini-lathe in September 2009, Sieg is now equipping many of their new 7x lathes with a powerful brushless DC motor.
The main advantages of the new motor are greater power and torque, smaller size and a sealed motor housing that is pretty much impervious to dust, oil, metal chips and all of the other contaminants common to the shop environment. Since I go into a fair amount of detail on the brushless motor in that earlier review, I won’t repeat that information here.
Suffice to say that the new motor is a big step forward in capability.
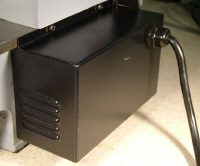
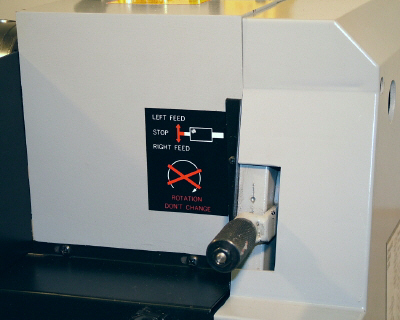
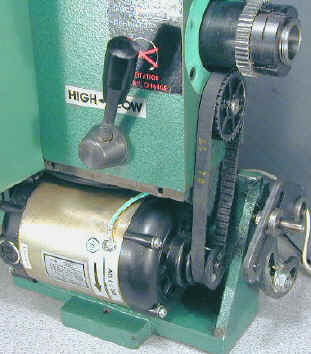
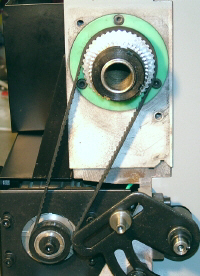
Enclosed in a vented black sheet metal enclosure on the back of the headstock, the motor turns a toothed belt that drives the spindle. This arrangement provides for a quiet, reliable and efficient transfer of power.
Due to its flexibility, the belt also provides a measure of protection to the drive train it you accidentally run the cutting tool into the chuck, or otherwise stop the motor very suddenly.
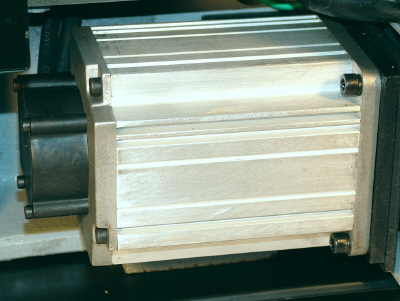
The greater power of the new motor eliminates the need for the Hi-Lo gear shift and the gears internal to the headstock. Since the headstock gears were a source of noise, the new machine runs quieter than the traditional gear-head design.
It also eliminates a potential source of trouble. On the geared machines, if you accidentally run the cutting tool into the chuck (believe me, it happens!) you may have the bad luck to shear off one or more of the gear teeth on the headstock gears. On this machine, that is no longer a concern.
Electronic Control Panel
The electronic controls are similar to those on other recent-model mini-lathes. Now that there is no Hi-Lo gear in the headstock, the speed control knob provides a continuous range of speeds from zero up to about 2500 RPM.
The lowest practical speed is about 60 RPM, but you may be able to coax your particular machine to even lower speeds, which can be useful for thread tapping.
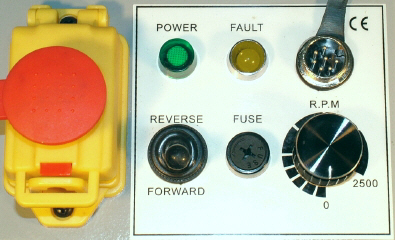
Greatly improved from the early days (say around 2001) the motor controller now has automatic overload protection. If you take a cut that’s just too great for the lathe to handle (and that’s much tougher to do than on the earlier models) the motor controller will shut down the machine to protect the circuits from overloading, and set the yellow Fault light.
To restart, just press the big green button, under the big red Emergency Stop button.
The older controllers were sensitive to quickly changing the motor direction between forward and reverse. On this lathe, you can switch between forward and reverse without concern; the controller uses electronic braking to rapidly slow down the spindle, then reverses direction and resumes the original RPM setting. This could be a handy feature when doing tapping at low speeds.
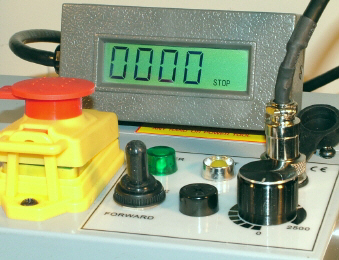
An optional digital tachometer is available to plug into a port on the controller. When not in use, the tach port is sealed by a rubber cap. Three magnets on the back of the tach display hold it to the top of the headstock. I found that I got a better viewing angle by attaching the tach display to a steel bracket bent to about an 80-degree angle.
Special Features
Overall, the Micro-Mark 7×16 looks much like a stretched version of the traditional Sieg 7×12, available from several US vendors and distributors world-wide, but a closer looks reveals some special features unique to this model.
First of all, there’s the 16″ bed length. I’ve written before about the advantages of the extra bed length of the 7×12 over the smaller “7×10″ version, which is really only 7×8”. Extra bed length makes everything easier.
On the shorter machines, even with the tailstock parked all the way at the end of the bed, the tailstock sometimes still gets in the way of other operations you’re trying to do – so much so, that I made a special “parking stand” where I can stow the tailstock temporarily off the machine. With a 16″ bed, this would rarely be necessary.
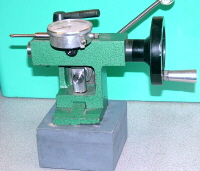
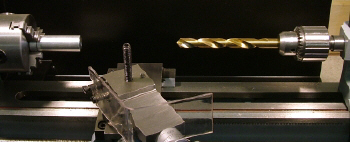
Aside from the obvious benefit of being able to turn longer workpieces, another important advantage of the longer bed becomes evident when drilling into the end of a workpiece – especially when working with drill bits longer than 3 inches.
On the 7×12, and even more so on the 7×10, it’s not unusual to run into a situation where you can’t move the tailstock far enough back to provide clearance for these longer-length drills. And when that happens, there’s really no good solution.
The best I’ve come up with is to use a set of “screw machine” drills which are shorter than standard “jobber” drills. That works as long as you don’t need to drill a very deep hole. On the 7×16 you can drill into the end of a 12″ workpiece with a 3″ long drill with room to spare.
If you need more evidence of the importance of bed length, consider this: several 7×12 mini-lathe owners have grafted on “donor beds” to extend their lathes to 7×20 or longer. In fact, that was the destiny of my very first Harbor Freight 7×10 – a fellow mini-lathe hobbyist bought the bed and made his 7×12 into a 7×20.
Another nice feature of the 7×16 is the cam-lock tailstock. I’ve said it before and I’ll repeat it here: a cam-lock tailstock is the single most productive modification I’ve made on my old Grizzly 7×12. Now you can get that feature already installed on the Micro-Mark 7×16. Note: the tailstock chuck is not included, so be sure to order one when you purchase your lathe.
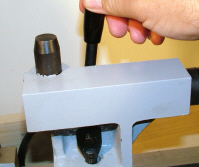
While it does the job, the lock nut normally found on mini-lathe tailstocks is inconvenient when you get to a level of experience where you are trying to work along at a quick pace.
First you have to find the wrench – sometimes a challenge in my shop when I’m heavy into a project – then loosen the nut so that you can slide the tailstock to where you need it, then tighten the nut. Then put the wrench back where you can find it next time.
In the tight confines of the 7x machines, getting the wrench in to the nut sometimes takes some finagling. By contrast, with the quick-lock tailstock lever, you simply move the lever forward to release the tailstock and pull the lever back to lock the tailstock to the ways.
The powerful cam action ensures a solid grip so that the tailstock won’t slip if pressure is applied, say from a drilling operation.
Another feature unique to Micro-Mark’s mini-lathes is the True-Inch™ leadscrews on the carriage and cross-feed. On every other mini-lathe that I’m aware of, the carriage and cross-feed lead screws are metric, with a 1mm pitch.
Although the dial is marked as .001″ per division, it actually is slightly less than that. Therefore you can’t rely on the dial markings for accurately removing a measured amount from your workpiece.
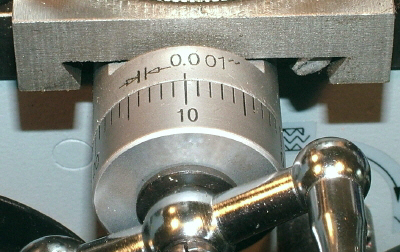
Micro-Mark has solved that problem by providing leadscrews that really are 0.050″ per revolution and .001″ per division. So, with this lathe, if you want to remove, say .010″, from your workpiece diameter, just advance the dial by 5 divisions (remember the depth is doubled when making a turning cut.)
This feature removes a potential source of error and saves you time since you don’t have to stop the lathe as often to check the diameter using a digital caliper.
In Summary
This is a great lathe. When I compare it to my original 7×10 that I purchased back in 1999, here are some of the improvements that stand out:
- Dramatically improved motor power and torque
- Auto-reversing motor controller with overload protection
- Dynamic motor braking – slows chuck down rapidly
- Strong torque down to 60 RPM
- Optional digital tachometer
- Reduced motor and internal gear noise – quieter operation
- Much longer bed and greatly improved working space
- Quick acting cam-action tailstock lock
- Better sharpness and contrast on tailstock ruler markings
- Improved safety features
- True-Inch™ leadscrews on cross-feed and compound
- Better overall finish and quality
- Improved safeguards to keep chips out of controller compartment
- Wider stance for supporting feet – more stable
So, about the only gripe I have is this: you still have to slide the compound back to access the locking screws to change the compound angle. Of course, you can make my cam-action lever mod to solve that problem… 😉
At a list price of $749.95, the Micro-Mark 7×16 is more expensive than the 7×12 lathes, but the list of features above, plus the careful packaging and attentive service provided by Micro-Mark are what sets this lathe apart. And, if you act soon, you can buy this lathe at a promotional price of $689.95 (July 2010) which really is a bargain.
Note: For additional information on many operational aspects and setup of the mini-lathe, please refer to these previous articles:
